Sunday, March 29, 2015

Natural "Dye-Free" Easter Eggs


Easter is by far, my favorite holiday of the year. Celebrating our Risen Savior, family time, brunch, warmer weather, egg hunts, and candy-filled baskets- what's not to love! It's a time of new life that always leaves me refreshed.

Dying Easter eggs has always been my favorite activity of this season. It's a great chance to be creative with a blank canvas. Although it's super convenient to purchase pre-made dye, I really enjoy using and experimenting with natural, color creating ingredients. 


^^ First, start with hard boiled eggs. I boil mine for about 9 minutes, turn off the heat, and let them sit  in the hot water another minute or two. Then I drain the water from the pot and let them cool.

Do not worry about exact measurements when making natural dye. The goal is to achieve your desire pigment (darkness & lightness) by playing with the qualities of foods/spices. Have fun with it! If you discover more items that would aid in creating a certain color, just add them to the pot!


^^ For the yellow dye, I used a couple table spoons of turmeric, and two bags of green tea. 


^^ For the green dye, I used two handfuls of chopped spinach, green tea bags, and fresh basil. 


^^ For the pink dye, I used 3 cubed red beets, 1/2 cup frozen blueberries, and 8 oz pomegranate juice.


^^ Place the dye ingredients into seperate sauce pans and fill with water one inch above the ingredients. 


^^ Bring the dye mixture to a boil.


^^ Cover, and let simmer for 30 minutes to 1 hour- periodically check on them to see when your desired color is achieved. 


^^ Place a colander or strainer over a bowl and drain your dye. 


 ^^ Add 1/4 cup of white distilled vinegar to teach dye while they're still warm. 


Fill dipping jars with the dye, and lower the eggs inside using a small ladle or spoon. I used larger mason jars so that we could dye 2-3 eggs at a time. 


^^ Let the eggs sit for 15-45 minutes depending on the color you want. I let these sit for about 30 minutes, placed them back into the carton cups to drip dry, and then back into the refrigerator. (For egg salad tomorrow!) 


We had a lot of fun watching the white egg shells slowly turn into these beautiful colors. The best part of it all was that we 'made' these colors using natural ingredients! I really look forward to experimenting with new items each year, and I hope you have fun customizing your own colors, too!

Happy Easter! 
xo- Monica


Friday, March 20, 2015

Protein Banana Bread

Bananas don't usually hang around for long in my house. Between the three of us, we go through two big bunches a week. There is a rare case where a few bananas are left behind, turning brown, and I always take full advantage of claiming them for bread before someone else does. 

There is a certain nostalgia about banana bread for me. My Mom constantly kept a loaf in the kitchen to snack on. I remember my Dad coming home from a long morning on his feet at the hospital, my mom made a pot of coffee for them to share, and they sat and rested. This time is still a ritual for them and I love when I'm there to join in. 


^^ I let my "banana bread bananas" brown a few days after the first brown spots appear. This ensures the perfect mashing consistency so there are no random chunks of banana in the bread. For this recipe I used a combination of whole wheat flour and almond flour. Almond flour is literally blanched and skinless almonds that have been finely ground into a powder. I LOVE this almond meal because it allows me to make bread with out it being so dense and flour-filled. You can usually find it in the baking section or gluten-free section of the grocery store. 

I really love homemade bread. You just can't beat a slice of banana, pumpkin, or plain cinnamon bread paired with a cup of coffee in the afternoon. It's the perfect pick-me-up during nap time or work/school breaks. However, most bread recipes are full of butter, flour, and sugar. I've replace refined/processed sugars with maple syrup and honey. I've also replace butter and oil with apple sauce and yogurt. Lastly, the whole wheat gives this bread a great dose of whole grains, while the chia seeds and almond meal boost this bread full of protein. My banana obsessed baby & hubby can't eat this bread fast enough.


^^ Mash the bananas with a fork. 


^^ Add all wet ingredients to the bananas: yogurt, maple syrup, honey, eggs, vanilla, applesauce. 


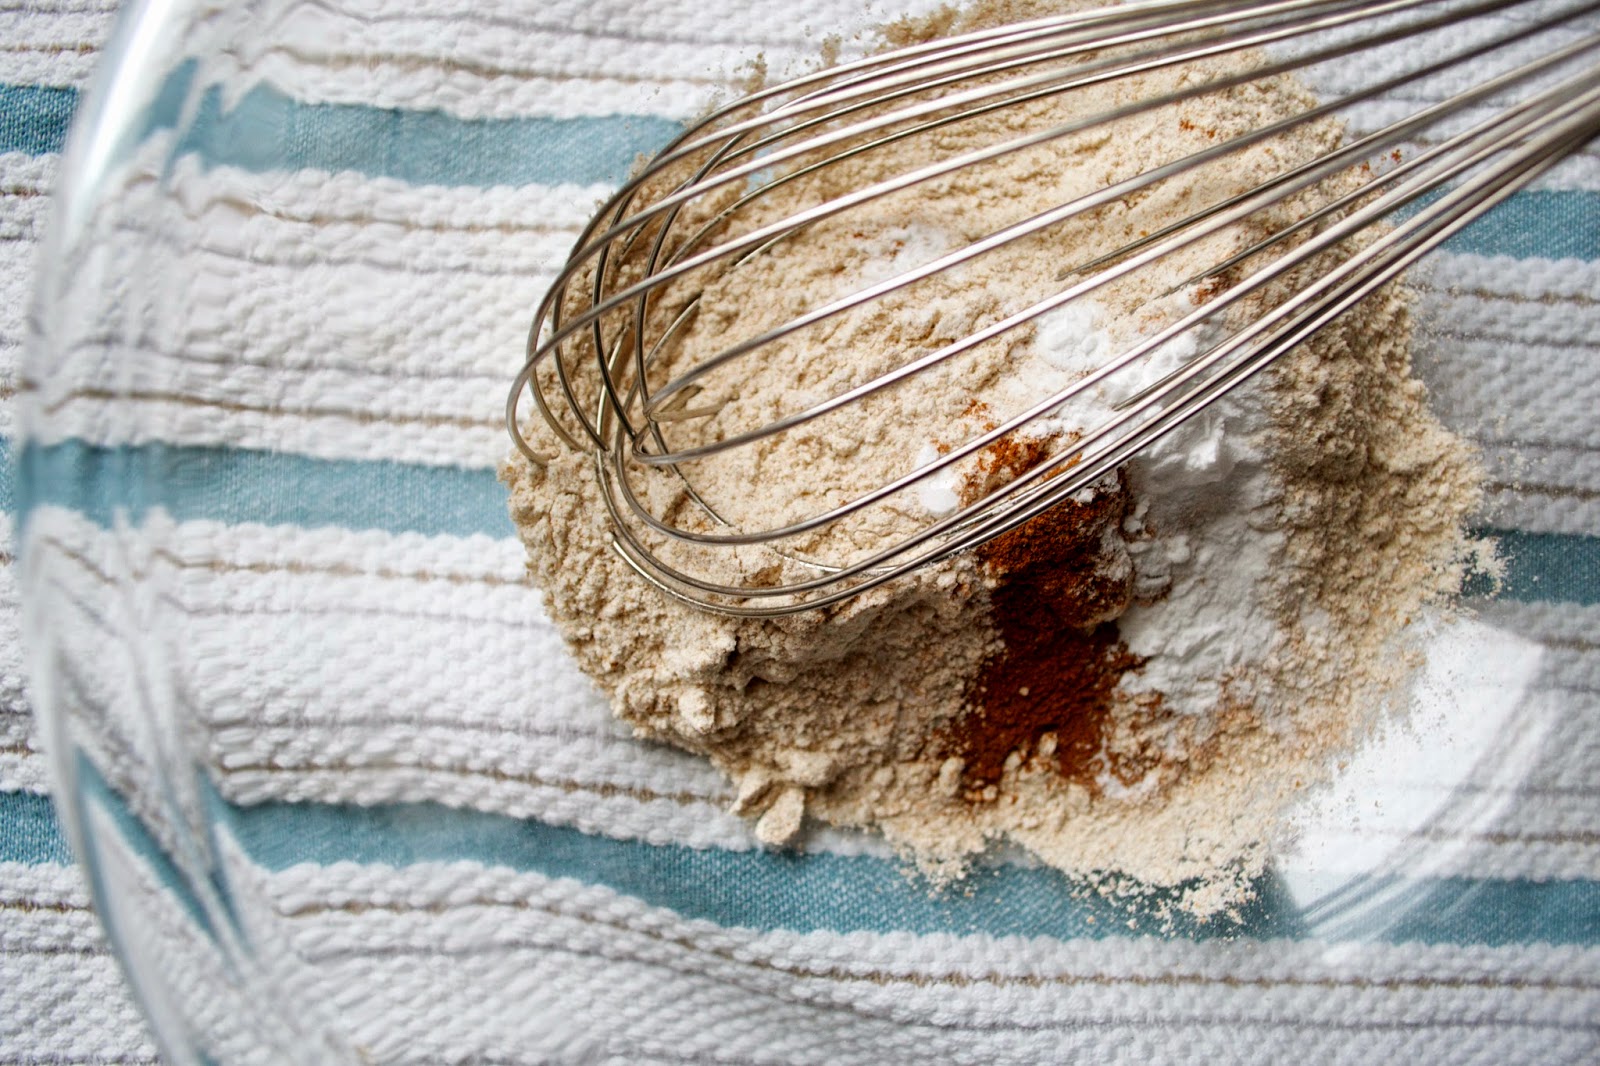
^^ Combine all dry ingredients: almond flour, whole wheat flour, cinnamon, chia seeds, salt, baking soda. 


^^ Slowly add the dry ingredients to the wet, and mix until combined.

** I didn't add nuts to this recipe because of the almond meal. If you like that extra crunch, roast 1/4 cup of sliced almonds or chopped walnuts and fold them into the mixture. 


^^ Spray loaf pan with a non-stick spray or melted coconut oil. I love this spray because it is versatile between grilling, baking, and cooking!


^^ Pour the batter into the loaf pan and sprinkle the top with raw oats. 


^^ Walaaa! Perfectly golden Banana Bread and it smells sooo good! For breakfast, I love topping a slice of this Protein Banana bread with crunchy peanut-butter! Enjoy!

Ingredients:
  • 3/4 cup almond flour
  • 1 cup whole wheat flour
  • 1 teaspoon baking soda
  • 1/2 teaspoon salt
  • 2 tablespoons chia seeds
  • 1/4 cup maple syrup
  • 1/3 cup honey
  • 3 ripe bananas
  • 1/4 cup apple sauce
  • 2 eggs
  • 1/4 plain whole-milk yogurt
  • 1 teaspoon vanilla
  • 1/2 teaspoon cinnamon
  • oats for topping
Instruction: 
  • Preheat oven to 350 degrees. Spray the loaf pan and set it aside.
  • Whisk together the dry ingredients: flours, salt, baking soda, chia seeds, and cinnamon. Set aside.
  • In a separate bowl, mash the bananas. Add in the honey, apple sauce, yogurt, maple syrup, eggs, and vanilla. Stir until combined.
  • Add the dry ingredients to the wet and mix until just combined. 
  • Pour batter into the loaf pan and top with oats. 
  • Bake for 40-50 minutes or until done- a tester inserted comes out clean. 
  • Let cool completely in the loaf pan, then turn out to a cooling rack. Store in foil or in an airtight container for the week! 

Happy baking!
xo- Monica

Friday, March 6, 2015

Blueberry Muffin Overnight Oats


This may come as no surprise to you by now, but breakfast is by far my favorite meal. No part of my day can begin until I've had a cup of strong coffee and sustenance. Luckily, it must run in my blood, because little man is the same way. We wake up, and immediately head to the kitchen to fuel-up for the day. Although I love smoothies, eggs, yogurt, etc... oatmeal is my jam. 

My fav method of cooking oats is by using steel cut oats and almond milk over a stove. This is a 30-40 minute process which I generally have no time for, so... I started making over-night-oats! The mixture involves equal parts oats, liquid (milk), and sometimes yogurt; leave them in a jar in the fridge overnight, and ta-daaaaa... hassle-free oatmeal in the morning. I was skeptical at first, being an oatmeal extremist, but this method is such a time-saver and so good

There is NO COOKING involved at all...

Overnight-oat-base:
-1/3 cup oats
-1/3 cup almond milk
-1/4 cup coconut yogurt

This is the base recipe I use for all of my variations of Over-Night-Oats. I have fun experimenting with these each week, giving them a new spin with different ingredients. This week I made Blueberry Muffin Oats, and we devoured them.


^^ I used plain coconut milk and added vanilla extract to the oat mixture. The extract lends a vanilla flavor without having the added sugar of "vanilla flavored" yogurt.


^^ I like to use frozen blueberries, but you can also use fresh if you prefer.


^^ The finished product, come morning!


^^ This topping is totally optional. Although the overnight-oats resemble the taste of a blueberry pie, this crunchy topping really takes it to the next level! 


^^ This is essentially a small batch of simple granola. Just 5 ingredients and less than 10 minutes of baking. Store for the week!


Blueberry Muffin Overnight Oats

Ingredients:

  • 1/3 cup old-fashioned rolled oats
  • 1/3 cup unsweetened almond milk
  • 1/4 cup coconut yogurt
  • 1/4 cup frozen blueberries
  • 1/2 tsp chia seeds
  • 1/4 teaspoon cinnamon
  • 1/4 teaspoon vanilla extract
Instructions:
  • Put oats, chia seeds, blueberries, yogurt, vanilla, and almond milk in a jar with a tight lid. (I use 6-8 oz mason jars).
  • Stir until all ingredients are combined, then cover tightly.
  • Leave the covered jar to sit in the refrigerator over night. 
  • In the morning, uncover, stir the oats, and top with the pie crust topping and more berries.
  • *** I love these cold, but you can heat them up briefly in the microwave. 
"Streusel" Topping

Ingredients:
  • 2 tablespoons old-fashioned rolled oats
  • 1 tablespoon flour
  • 1 tablespoon room temp coconut oil
  • 1 tablespoon of raw sugar or maple syrup
  • 1/2 teaspoon cinnamon
Instruction: 
  • Preheat oven to 350.
  • Combine all ingredients in a small bowl using your fingers to incorporate the coconut oil.
  • Put mixture onto a glass baking dish and bake for 5 minutes, stir, and bake for another 3 minutes.
  • Let cool completely, then top the Blueberry Muffin Oats and store in an airtight container. 

Enjoy!
xo- Monica

Friday, February 27, 2015

Breakfast-to-go!

Since become a family of three, meal-prepping has been key. Matt works full-time and I am a full-time student- bulking classes into a few days a week so that I can be home with W for the other days. Needless to say, our weekday mornings consist of getting ready for work, commuting to drawing class, and scrambling to get ready for W's library classes and play dates. Because of our schedules, breakfast is always prepped and left ready the night before.

I was raised by my mother who never let a soul leave her kitchen with out being fed, even if they weren't hungry at the time...  I'm proud to say,  I have become that same woman. Luckily, I've been blessed with two boys who love to eat as much as I love to cook. Although I'm not always able to spend daily time in the kitchen, I quickly learned how to prep-ahead so that I don't have to sacrifice my love for cooking for my family. 

When crammed for time, breakfast is usually compromised and pushed aside. Because this is our favorite meal of the day, I try to make staple recipes that I can keep ready for my fam-  and these are a few of them...


Carrot Zucchini Mini Muffins


These mini muffins are a yummy and fiber-filled breakfast option... especially when on the go. They are portable, easy to pack in a diaper bag, don't require refrigeration, and fit perfectly in little toddler hands. Muffins are great for sneaking in extra veggies and I love being able to make them in advance so they last us for a few days. When morning comes, there is literally no prep but to take off the liner and enjoy!  


^^ Instead of using oils, the muffins get their moisture from the carrots and zucchini. This recipe also uses applesauce instead of butter and maple syrup as a sweetener instead of sugar. 


^^ Use the finer/smaller holes on your vegetable/cheese grater to shred the carrots and zucchini. Do not squeeze out the water from the veggies- it's what keeps the muffins moist!


^^ Mix the dry ingredients.


^^ Mix wet ingredients.


^^ Add the dry ingredients to the wet mixture. 


^^ Fold in the veggies & raisins. I didn't use raisins this time around, but they add a great texture and sweetness to this recipe.


 ^^ I use a 1 inch cookie scoop to fill each muffin cup evenly. Fill each cup just to the top of the liner. 


Ingredients:
  • 1 cup white whole wheat flour
  • ½ teaspoon ground cinnamon
  • ¼ teaspoon salt
  • 1 teaspoon baking soda
  • ¼ cup applesauce 
  • ½ cup pure maple syrup 
  • 1 large egg, beaten
  • 1 teaspoon vanilla extract
  • 1 cup finely grated zucchini
  • ½ cup finely grated carrot
  • ½ cup raisins

Instructions:

  • Preheat oven to 350°F  and coat a mini muffin pan with nonstick cooking spray or line with mini muffin liners.
  • Combine the flour, cinnamon, salt, and baking soda in a mixing bowl and whisk until combined. Set aside.
  • In a large mixing bowl, stir together the applesauce, maple syrup, egg, and vanilla extract.
  • Add the flour mixture to the wet ingredients and stir together until just barely combined.
  • Add the zucchini, carrot and raisins and fold in gently until just comnbined.
  • Fill each cup in the mini muffin pan just to the top (I use a 1 in. cookie scoop slightly overfilled).
  • Bake for 15-20 minutes or until a toothpick inserted in the center of a muffin comes out clean.

Turkey, Spinach, & Cheese Omelet-to-go


^^ These omelets-to-go are my favorite grab-n-go breakfast! Making eggs in the morning requires pots, pans, cook-time, and clean up. We generally save eggs for slow weekend mornings, but since making these pre-made omelets, we can enjoy them during the week! 

Most quick breakfast options contain empty calories (bars, cereal) that don't keep me full until lunchtime.  When I make a batch of these omelets, I know we will have a protein-packed breakfast option in the fridge, without all the clean-up.  


^^ You can use any sausage for this recipe. I love the Applegate brand, and the savory turkey breakfast sausage is the perfect compliment to the spinach and white cheddar. 


^^ Combine the milk & eggs.


^^ Cook the sausage and cube into 1/2 inch pieces. 


^^ Add cheese, chopped spinach, and sausage to the egg mixture.


^^ I used a small ladle to fill each cup. It is VITAL to use foil cupcake liners!! Paper liners will stick to the eggs- I learned the hard way. 


^^ Two words: bottomless pit


^^ Matt & I love to top these with Sriracha sauce!

Ingredients:
  • 8 eggs
  • 1/2 cup whole milk
  • 1/2 cup shredded white cheddar cheese
  • 1 cup fresh chopped spinach
  • 4 turkey sausages, cooked & cubed
  • 12 foiled cupcake liners
Instructions:
  • Preheat the oven to 325 & line a cupcake pan with 12 foiled liners.
  • Cook the turkey sausages on a skillet over medium heat (3 minutes each side), then set aside.
  • Using a whisk, beat together the eggs and milk.
  • Cube the turkey sausages (1/2 inch), and add to the egg mixture along with the spinach and cheese. Mix until combined.
  • Fill each foil-lined cup with the egg mixture, just to the top of the liner. 
  • Bake for 35-40 minutes or until the egg is firm.
  • Let cool in the pan for 5 minutes, then remove foil, and enjoy!
***If storing for the following day, let the omelets cool completely on a cooling rack. Then transfer and store in an airtight container in the refrigerator. Remove foil, and reheat in the microwave ( I like them cold, too). Keeps for 3 days.


^^ Both the Omelet-to-go and Mini Carrot Zucchini Muffin fit perfectly in 4 oz mason jars. I use these to pack W's lunch box for when he goes to his Abuela's house. 


Classic Cinnamon Crunch Granola & Yogurt Parfait 


Matt & I are granola obsessed. We went on a cruise a few years ago where there was a yogurt parfait bar and it contained literally any fruit and topping you could dream of. When we got home, it's all he wanted for breakfast. I went to the store to find packaged granola and I could not bring myself to purchase any of them because of the refined sugar content. When I did find one with wholesome ingredients and no added sugar, it was about $20 for a couple handfuls of granola...

So, I decided to make my own granola. After testing out a few batches, I landed on this final recipe and we've been enjoying it for a couple years now! It's sweet and simple and we love it! 


^^ Combine all dry ingredients.


^^ Directly add the wet ingredients to the dry, and combine until evenly distributed. 


^^ Divide the granola between two baking dishes. Arrange it in a thin layer so that the granola can bake evenly.


^^ Stir the granola after 20 minutes of baking, then allow to bake for another 5 minutes. 


^^ These are my favorite yogurt/dairy brands. I prefer plain and Matt and W prefer vanilla. Both of these brands have lots of flavors.


^^ Plain & pure.


^^ Straight forward & simple ingredients.


^^ The granola is ready once it begins to turn golden brown. It will become crunchy as it cools. 


^^ When we're home I like to arrange fruit, granola, and yogurt in clear glasses or bowls so you can see the layers. Yes... I am visually driven, an artist even when it comes to my food and I'm eating at home alone with no one to see it. 

W's is in a much less "pretty" shatterproof bowl ;-)


^^ I LOVE these Sistema containers. I use these to pack granola-yogurt parfaits to-go because it keeps the granola perfectly separate from the yogurt. If you pack them together, the granola will become soft and lose it's "crunch". These containers also come with a re-usable spoon! I bought these at Target, but they can also be found online at Amazon- link here

Ingredients:
  • 2 cups old fashioned rolled oats
  • 1/2 cup raw slivered almonds
  • 1 tablespoon ground flax seeds
  • 1 teaspoon cinnamon
  • 1/4 teaspoon kosher salt
  • 1 1/2 teaspoon vanilla extract
  • 2 tablespoons melted coconut oil
  • 2 tablespoons maple syrup
Instructions:
  • Combine the oats, almonds, flax, cinnamon, and salt in a large mixing bowl.
  • Add the melted coconut oil, vanilla extract, and maple syrup to the dry mixture and mix until combined.
  • Divide the granola between two 8x11 baking dishes. No need to oil the pans. Spread the granola into a thin layer to ensure even baking.
  • Bake for 20 minutes, stir the granola, and allow to bake another 5 minutes. 
  • Let cool completely, about 20 minutes, then enjoy on top of yogurt or milk.
**Store in an airtight container for up to 2 weeks.


These grab-n-go breakfast recipes have made my mornings so much easier - I hope they do they same for you! 
xo- Monica